Outside Japan, the image that often comes to mind for Japanese food is something like sushi or ramen at a restaurant. What I eat at home on a regular weekday can look quite different, so here is one example from my own kitchen. It’s low-effort home cooking, the kind you can easily copy in your own kitchen, even with just a few tools.
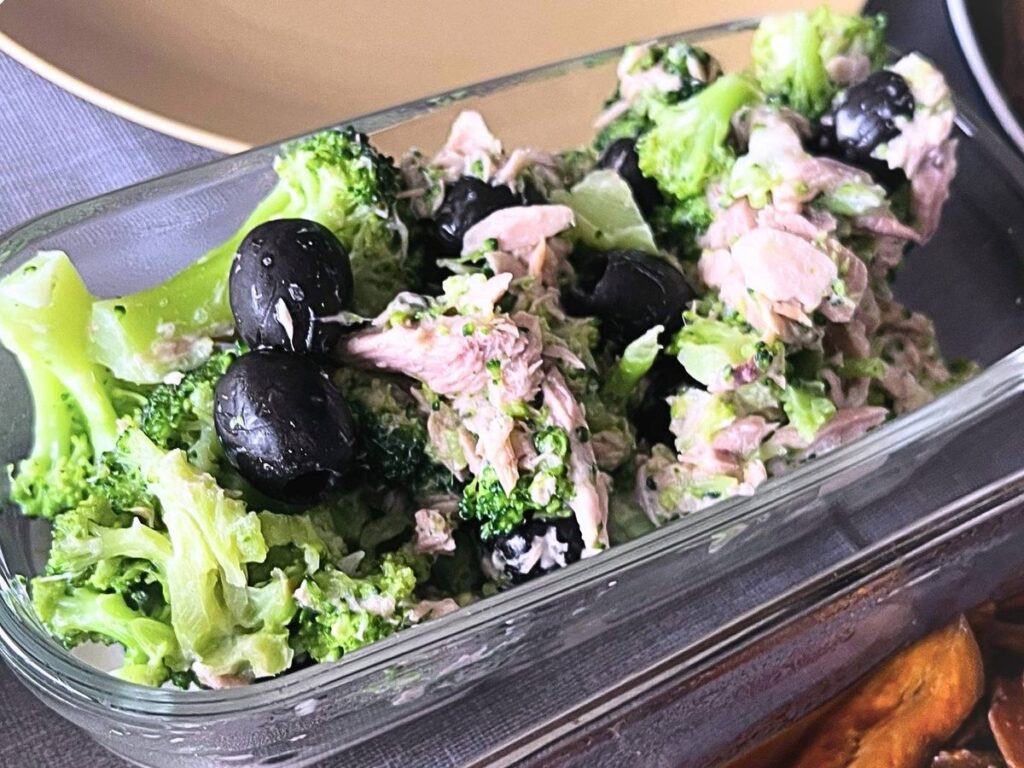
The skin on my hand was a bit irritated, so I didn’t want to get my hands wet. For today’s lunch, I skipped the knife and cutting board, since washing them means wet hands. I made just two dishes: frozen gyoza in a frying pan, and a broccoli, tuna and olive salad in a silicone steamer. Everything else was leftovers and make-ahead dishes from the fridge.
This post contains affiliate links (see my disclosure for details). As an Amazon Associate I earn from qualifying purchases.
Today’s lunch
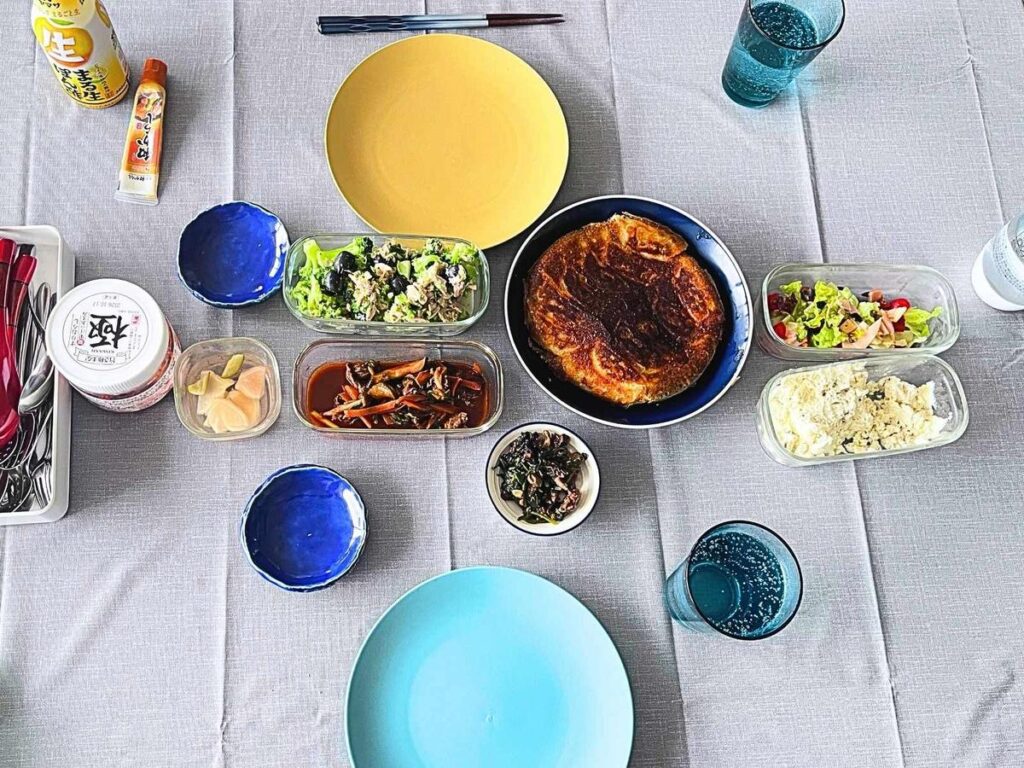
Only two dishes were cooked today. The rest came to the table in the glass containers I store them in, along with a bowl of rice (not in the photo).
Frozen gyoza in one pan
What I used
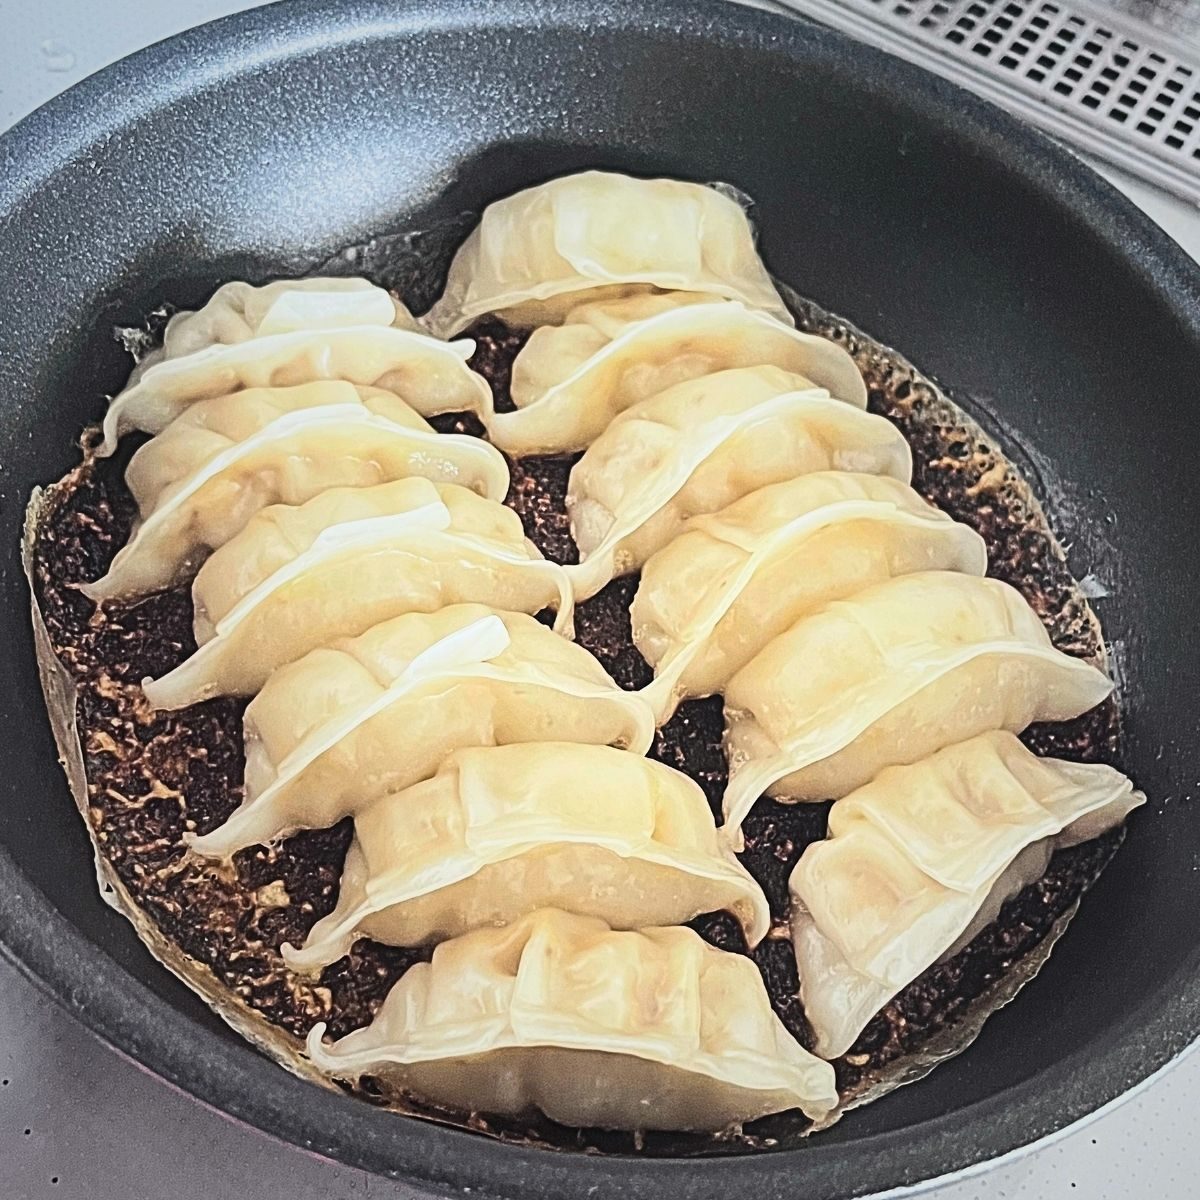
- Frozen gyoza: I used Ajinomoto frozen gyoza from a Japanese supermarket. It’s a popular pick in Japan. The one I used, Ajinomoto’s standard gyoza sold in Japan, is made so you can easily get a tasty, crispy “wing” (hane in Japanese) with no oil and no water. Each piece comes with what Ajinomoto calls a “hane no moto” (wing base). As the gyoza steam, it melts out and gives them just the right amount of water. Once the water cooks off, it stays under the gyoza and turns into the wing, a thin, lacy crust that joins the gyoza together. It’s easy and tastes good, so I pick this one on purpose. Ajinomoto also sells hane-style gyoza in the US, called Ajinomoto Hane-Style Gyoza (pork or chicken), and it gets a wing too. It has been sold in the frozen aisle at stores like Walmart and Albertsons. The US bag asks you to add a little water and use a non-stick pan, so follow the directions on your package. The same bag also shows the round, flip-onto-a-plate way I use below.
- Dipping sauce: ponzu and karashi. More on how I eat it below.
How I made it
- Place 12 frozen gyoza in a frying pan, packed as close together as you can. I use a 23cm (9in) T-fal non-stick pan. With little space between them, the crispy wing joins up and cooks nicely. The US bag suggests leaving about 1.3cm (0.5in) between them, so go with your bag if you’re using that one. Cover and cook over medium heat for about 6 minutes.
- Take the lid off, turn the heat to high, and cook for 2–3 minutes until the wing is crisp. I like mine deep brown, so if you prefer it lighter, take it off a little sooner.
- Put a plate over the pan and flip it, so the crispy side faces up. The pan is hot, so hold it carefully.
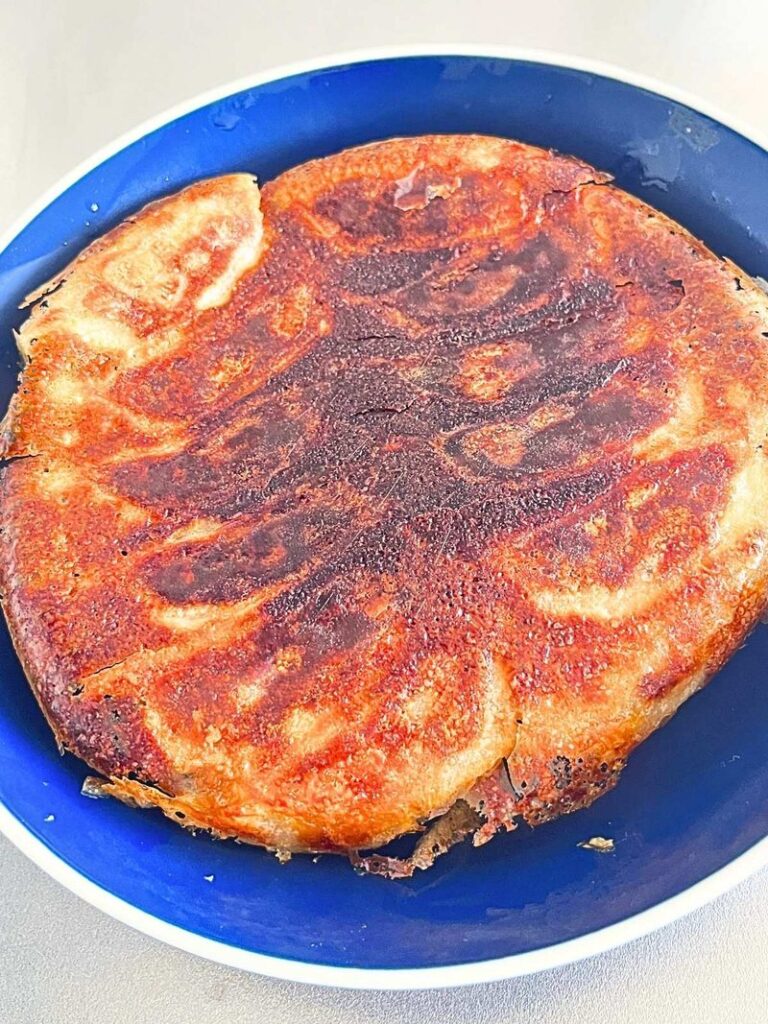
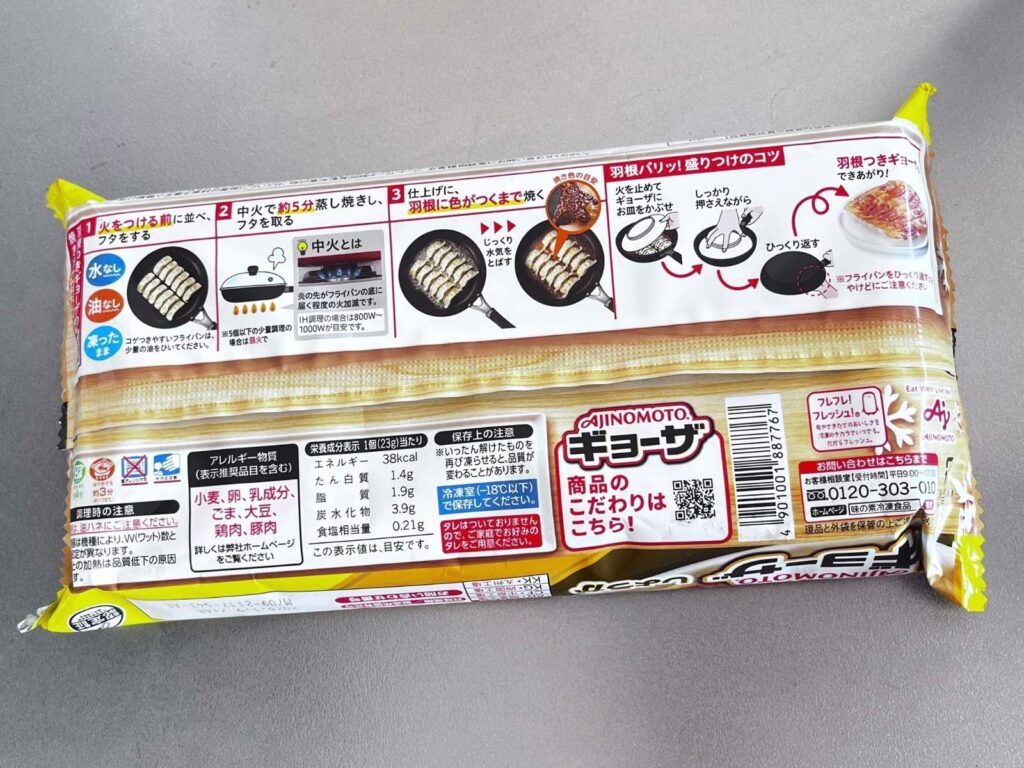
If you’re using another brand of frozen gyoza, you can still give them a wing. I’ve done it with cornstarch. Oil the pan, arrange the gyoza, add water as your bag says, cover, and steam. When the water has almost cooked off and the gyoza are just about to brown, pour in cornstarch water, just enough to make a thin layer around them. I usually just eyeball it, but if you want a measure, mix about 1 tbsp of cornstarch with ½ cup plus 2 tbsp (10 tbsp) of water.
How I eat it
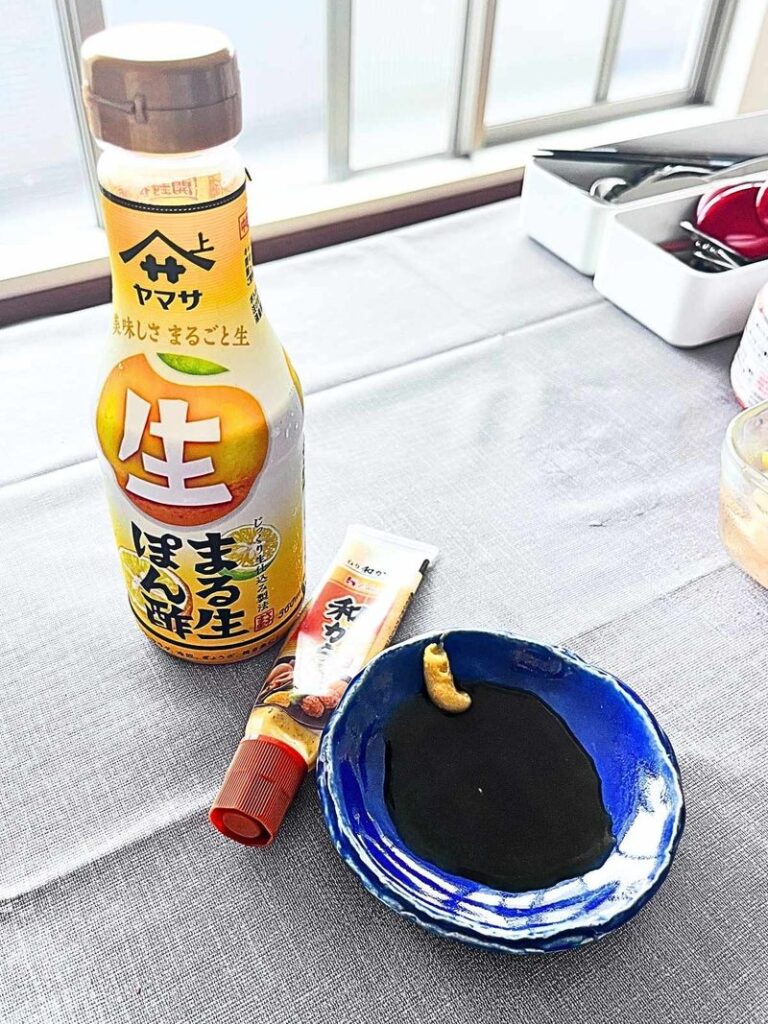
In Japan, gyoza is often eaten dipped in a small dish of sauce. A classic choice is soy sauce with a little something hot, like karashi, black pepper or yuzu kosho (a citrus chili paste). Any soy sauce works, such as Kikkoman Soy Sauce. Dipping instead of pouring the sauce over keeps the wing crisp.
I like mine with ponzu, which is soy sauce mixed with dashi (a Japanese stock, a bit like bouillon) and citrus juice, sometimes with rice vinegar. The light sourness makes gyoza taste fresher, and it is a flavor that kids often like too. I used Yamasa ponzu. If you can’t find it, any ponzu works here, and Kikkoman Ponzu is easy to find in the US. Mizkan Ajipon is another familiar name in Japan.
For grown-ups, I add a little karashi, a Japanese mustard. Karashi ranges from sharp and hot to quite mild depending on the product, so taste a little first and add as much as you like. In the US, S&B karashi paste is one you can find on Amazon. Many US reviews describe it as quite hot, with a kick like wasabi, so start with a tiny bit. If you don’t have it, black pepper or chili powder adds a nice accent.
Broccoli, tuna and olive salad in a silicone steamer
What I used
- Frozen broccoli: half of a 500g (17.6oz) bag. It goes in as is, with no chopping.
- Canned tuna: one can. I like tuna packed in water, with no added oil, and I drained off the water really well, but any kind you like works, including tuna in oil or with herbs.
- Pitted olives: as many as you like. I used GOYA’s black olives, and green olives work too.
- Mayonnaise: about 1 to 1½ tbsp, on the light side.
- Grated garlic: a little. I use garlic paste from a tube, and freshly grated garlic tastes even better.
- Silicone steamer: I use the Wahei Freiz Magicarino in black, and the ivory version has the same square shape. If you don’t have one, any microwave-safe bowl works too. Just cover it with a lid or plastic wrap. The broccoli steams in the microwave and gets mixed in the same container, so it is the only thing to wash. Steaming in the microwave also uses very little water and a short cooking time, which Harvard Health explains helps vegetables keep more of their vitamins.
How I made it
- Put only the frozen broccoli in the steamer, cover, and microwave at 600W for 4 minutes. Mine needed 2 more minutes, 6 minutes in total. My microwave runs at 600W, and many US microwaves are 1,000W or more, so start with less time and add more as needed. At 1,000W, about 3½ minutes is a good place to start.
- Add the tuna, olives, mayo and garlic to the steamer and mix.
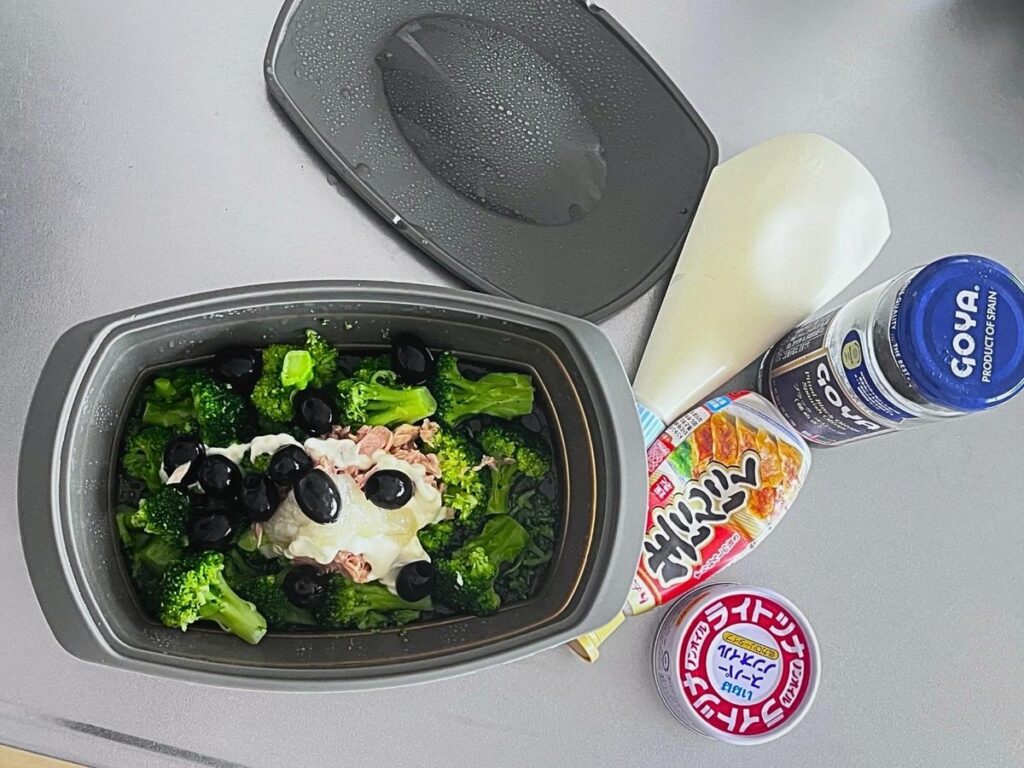
I use the olives for an accent and a little grated garlic for flavor, so the salad needs as little mayo as possible. Taste it, and if it needs more, add a few more olives or a pinch of salt. You can also stir in a little mustard you have at home, or the karashi from the gyoza. If you love mayo, just add more.
Leftovers, straight from the fridge
Everything else came out of the fridge in its glass container. I use iwaki containers, and I wrote more about them here.
- Korean kimchi, straight from the jar
- Ginger and cucumber pickles
- Leftovers from beef bibimbap
- Stir-fried spinach and beef that my husband made, left over from another meal
- A salad with ham, left over from the day before
- A tofu spread my husband makes in the style of Boursin
In Japanese food culture, there are ideas like “a staple, a main dish and side dishes,” or ichiju sansai, which means one soup and three dishes served with rice. Meals are often set out as several small dishes, so you get a little of many different things. My lunch that day had no soup, but it follows the same idea: rice, gyoza as the main, and a few side dishes. That’s why gyoza, Korean kimchi and a Western-style salad sitting side by side is nothing unusual for us.
In the end
On days when my hands need a break, lunch can be two quick dishes and whatever is already in the fridge. Frozen food and a steamer do most of the work.
If you try frozen gyoza at home, I’d love to hear how it goes. Requests for other Japanese home meals are welcome too: hello@minimalfromjapan.com